
Introduction
As a developer who has long used various Linux distributions, I have always had a special fondness for Ubuntu. However, it wasn’t until I encountered NixOS that I truly experienced a revolutionary change in system management. NixOS adopts a declarative configuration management approach, making system configuration, software installation, and updates unprecedentedly simple and reliable. This article will provide a detailed guide on how to start using NixOS from scratch, helping you quickly master this powerful Linux distribution.
Core Features of NixOS
The most distinctive feature of NixOS is its declarative configuration management approach. Through a unified configuration file, you can:
- Completely describe all system configurations
- Implement version control for configurations
- Easily replicate identical system environments
- Support system configuration rollback
- Ensure reproducibility of system configurations
This approach not only makes system management more controllable but also greatly reduces maintenance complexity.
Quick Start Guide
For users new to NixOS, I recommend using Docker for a quick experience:
docker run -it nixos/nix
Before starting formal use, it is strongly recommended to read the following official tutorials:
System Installation
NixOS provides a Minimal ISO image for installation. Although the installation process is slightly more complex than traditional Linux distributions, it’s much simpler compared to Arch Linux. For detailed installation instructions, please refer to:
Basic System Configuration
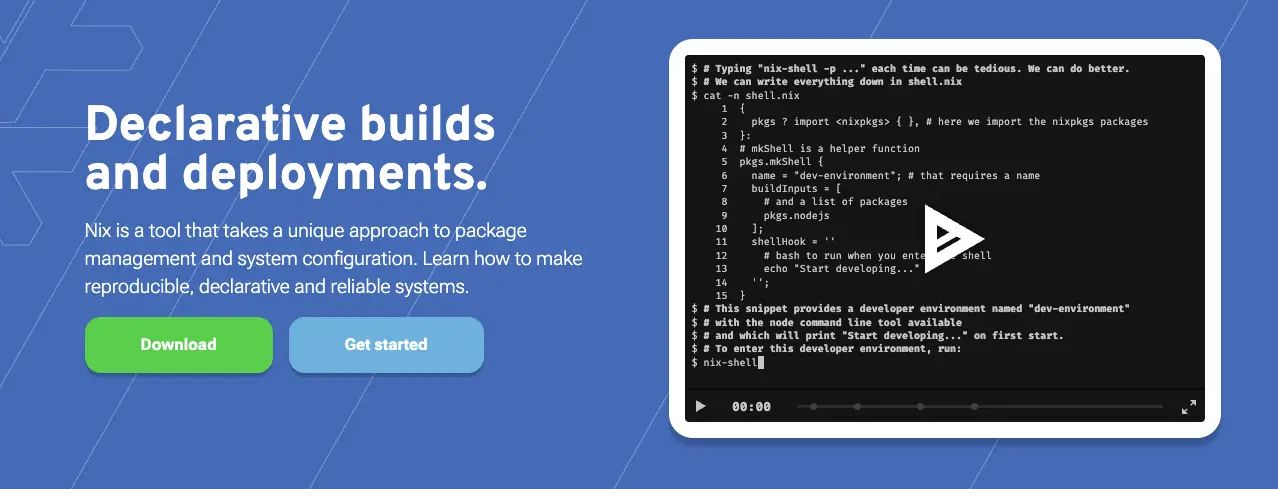
After installation, we need to create and configure our own NixOS system. First, edit the system configuration file:
vim /etc/nixos/configuration.nix
Note: If vim is not yet installed in the system, you can enter a temporary shell environment containing vim with the following command:
nix-shell -p vim
Things to Do After Installing NixOS
All configurations need to be made in the /etc/nixos/configuration.nix file. Here are some basic configuration examples:
- Set timezone:
time.timeZone = "Asia/Shanghai";
- Configure SSH service:
services.openssh.enable = true;
services.openssh.settings = {
  "PermitRootLogin" = "yes";
};
- Configure static IP:
networking.useDHCP = false;
networking.interfaces.ens18.useDHCP = false;
networking.interfaces.ens18.ipv4.addresses = [ {
  address = "10.10.100.99";
  prefixLength = 24;
} ];
networking.defaultGateway = "10.10.100.91";
networking.nameservers = [ "10.10.100.1" ];
networking.hostName = "bboysoul-nixos";
- Configure custom hosts:
networking.extraHosts =''
198.18.4.181 github.com
'';
- Disable firewall:
networking.firewall.enable = false;
- Disable IPv6:
networking.enableIPv6 = false;
- Install common software packages:
  environment.systemPackages = with pkgs; [
    vim # Do not forget to add an editor to edit configuration.nix! The Nano editor is also installed by default.
    wget
    nano
    git
    zsh
    eza
    pyenv
    starship
    yadm
    atuin
    k3s
    htop
    iftop
    iotop
    ipvsadm
    iptables
    docker
    inetutils
    docker-compose
  ];
- Configure default shell:
users.users.root.shell = pkgs.zsh;
programs.zsh.enable = true;
- Configure Docker:
virtualisation.docker.enable = true;
virtualisation.docker.daemon.settings = {
  "data-root" = "/data/docker-data";
};
- Configure K3s:
  services.k3s.enable = true;
  services.k3s.role = "server";
  services.k3s.extraFlags = toString [
    "--cluster-init=false"
    "--docker=false"
    "--data-dir=/data/k3s"
    "--disable=traefik,servicelb,metrics-server"
    "--token=xxxxx"
    "--service-node-port-range=79-30124"
    "--kubelet-arg=cgroup-driver=systemd"
    "--kube-proxy-arg=proxy-mode=ipvs"
    "--kube-proxy-arg=ipvs-strict-arp=true"
    "--disable-cloud-controller=true"
    "--tls-san=aws.xxxxx.cn"
    "--default-local-storage-path=/data/storage"
    "--etcd-snapshot-schedule-cron=0 */5 * * *"
    "--etcd-snapshot-retention=20"
    "--etcd-snapshot-dir=/data/storage/etcd"
    "--flannel-backend=host-gw"
  ];
Note: If flannel is using vxlan, there might be issues. ipvsadm and iptables are not installed by default and need to be installed.
- Configure VSCode
The VSCode remote server is not usable by default in NixOS. You need to use it in combination with this project:
https://github.com/nix-community/nixos-vscode-server
{
  imports = [
    (fetchTarball "https://github.com/nix-community/nixos-vscode-server/tarball/master")
  ];

  services.vscode-server.enable = true;
}
Complete Configuration
[Complete configuration content remains unchanged as it’s code]
After Configuration
After completing the configuration, use the following command to verify the configuration:
nixos-rebuild test
Use the following command to implement the configuration:
nixos-rebuild switch
Finally
To ensure configurations are not lost, it’s recommended to create a Git repository for the /etc/nixos directory for version control.
Feel free to follow my blog at www.bboy.app
Have Fun