简介
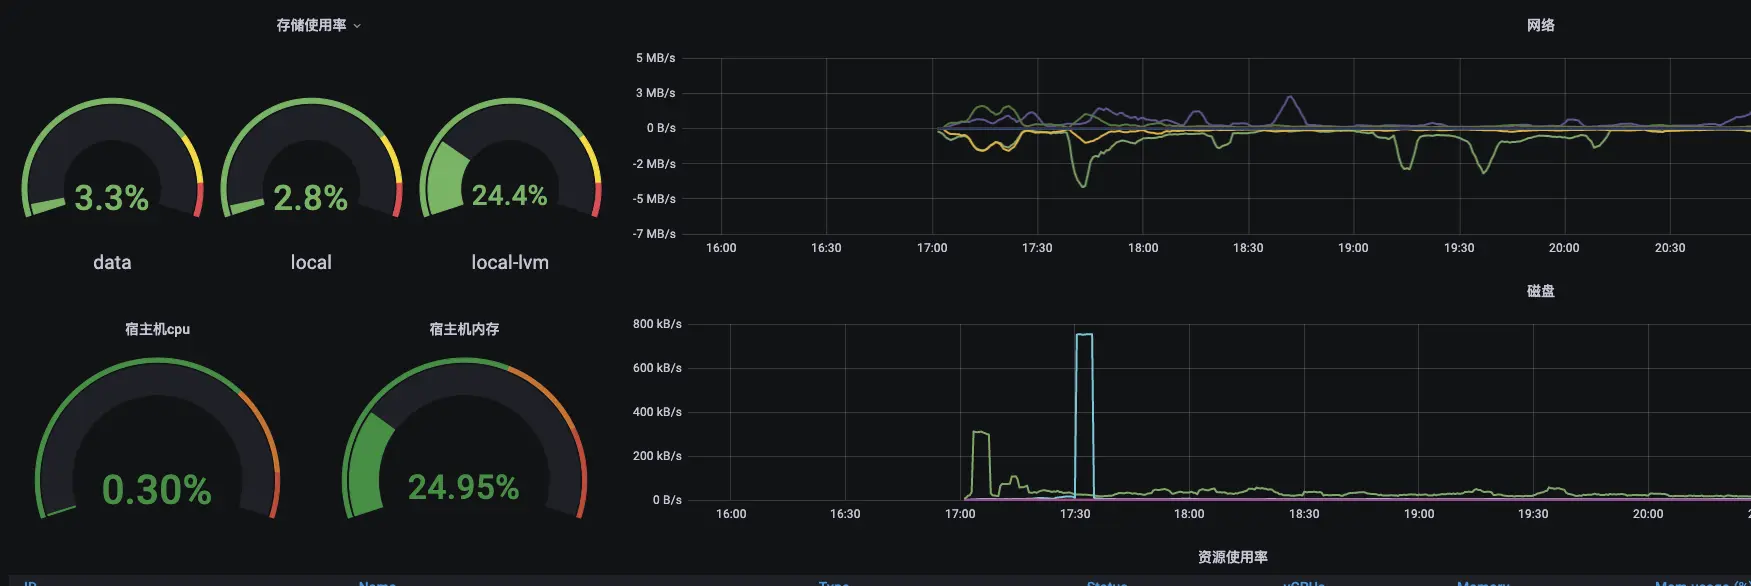
周末终于鼓起勇气花了一个多小时,把家里nuc里面的esxi换成了pve,然后就想着在树莓派的k3s里面去启动一个pve-exporter去监控,下面记录下过程
项目地址
https://github.com/prometheus-pve/prometheus-pve-exporter
操作
创建一个deployment
apiVersion: apps/v1
kind: Deployment
metadata:
  name: pve-exporter
  namespace: app
spec:
  selector:
    matchLabels:
      app: pve-exporter
  template:
    metadata:
      labels:
        app: pve-exporter
    spec:
      containers:
      - name: pve-exporter
        image: git.bboysoul.cn/container/prometheus-pve-exporter:2.2.4
        env:
          - name: PVE_USER
            value: root@pam
          - name: PVE_PASSWORD
            value: pass
          - name: PVE_VERIFY_SSL
            value: "false"
        resources:
          limits:
            memory: "128Mi"
            cpu: "500m"
        ports:
        - containerPort: 9221
关键的地方就是这个环境变量
        env:
          - name: PVE_USER
            value: root@pam
          - name: PVE_PASSWORD
            value: pass
          - name: PVE_VERIFY_SSL
            value: "false"
其他的没什么好说的,当然根据官方的文档,你还可以挂载一个configmap上去,但是我感觉比较麻烦,所以直接注入环境变量了
创建一个svc
apiVersion: v1
kind: Service
metadata:
  name: pve-exporter
  namespace: app
spec:
  selector:
    app: pve-exporter
  ports:
  - port: 80
    targetPort: 9221
这个没什么好说的,之后prometheus直接去请求这个svc
prometheus的配置
      - job_name: 'pve'
        static_configs:
          - targets:
            - 10.10.100.200  # Proxmox VE node.
        metrics_path: /pve
        params:
          module: [default]
        relabel_configs:
          - source_labels: [__address__]
            target_label: __param_target
          - source_labels: [__param_target]
            target_label: instance
          - target_label: __address__
            replacement: pve-exporter # PVE exporter.
貌似默认就会去请求pve的8006端口,所以你的target直接写ip就好了,下面是dashboard的地址
https://grafana.bboysoul.cn/d/Xd6FvKE7z/jian-kong-da-ping?orgId=1&refresh=5s
欢迎关注我的博客www.bboy.app
Have Fun
