简介
有查看日志的需求,之前是使用过elk,真的是太重了,而且配置复杂,不怎么好用,kibana web界面也很卡,所以一直在找一款合适的日志收集工具,可以方便查看日志,直到找到了loki
项目主页
https://github.com/grafana/loki
继续简介
loki分为两个部分,一个是promtail就是收集日志的agent,你可以看作是prometheus的node-exporter,另外一个就是loki server本身,是日志记录引擎,如果用过prometheus的话那么上手loki会更简单,因为prometheus和loki的配置方法几乎差不多
安装loki
这里我使用docker 安装,下面是compose文件
version: "3"
services:
  loki:
    image: "grafana/loki:1.5.0"
    container_name: "loki"
    restart: "always"
    volumes:
      - "/etc/localtime:/etc/localtime"
      - "./etc:/etc/loki"
      - "./loki:/loki"
    ports:
      - "3100:3100"
    command: "-config.file=/etc/loki/local-config.yaml"
记得要修改loki文件夹的所有者为 10001 不然会提示权限不足
chown -Rf 10001:10001 loki
之后使用docker-compose启动
docker-compose up -d
就这样loki的服务端就ok了,下面说下几个坑,第一个是
^[level=warn ts=2020-07-06T06:54:12.754273854Z caller=client.go:242 component=client host=192.179.11.1:3100 msg="error sending batch, will retry" status=429 error="server returned HTTP status 429 Too Many Requests (429): Ingestion rate limit exceeded (limit: 6291456 bytes/sec) while attempting to ingest '221' lines totaling '101946' bytes, reduce log volume or contact your Loki administrator to see if the limit can be increased"
当你搭建完成promtail,并且启动发送日志到loki的时候很有可能会碰到这个错误,因为你要收集的日志太多了,超过了loki的限制,所以会报429,如果你要增加限制可以修改loki的配置文件,在limits_config中添加
ingestion_rate_mb: 15
如果你是老版本的loki,那么是添加
ingestion_rate: 25000
详细可以看下面
https://github.com/grafana/loki/pull/1278/files/f468d5d258a42316036290fad1b795c40bec22e4#diff-935fd110763ed3367d3ea740a3d3c072
我的最终配置
limits_config:
  enforce_metric_name: false
  reject_old_samples: true
  reject_old_samples_max_age: 168h
  ingestion_rate_mb: 15
还有一个坑是
level=error ts=2020-07-06T03:58:02.217480067Z caller=client.go:247 component=client host=192.179.11.1:3100 msg="final error sending batch" status=400 error="server returned HTTP status 400 Bad Request (400): entry for stream '{app=\"app_error\", filename=\"/error.log\", host=\"192.179.11.12\"}' has timestamp too new: 2020-07-06 03:58:01.175699907 +0000 UTC"
这个是两台机器的时间相差太大了,我promtail这台机器的时间没有和ntp服务器同步时间,所以就报了这个错误,只要把时间都同步了就好了
我的最终配置文件
auth_enabled: false

server:
  http_listen_port: 3100

ingester:
  lifecycler:
    address: 127.0.0.1
    ring:
      kvstore:
        store: inmemory
      replication_factor: 1
    final_sleep: 0s
  chunk_idle_period: 5m
  chunk_retain_period: 30s
  max_transfer_retries: 0

schema_config:
  configs:
    - from: 2020-07-01
      store: boltdb
      object_store: filesystem
      schema: v11
      index:
        prefix: index_
        period: 168h

storage_config:
  boltdb:
    directory: /loki/index

  filesystem:
    directory: /loki/chunks

limits_config:
  enforce_metric_name: false
  reject_old_samples: true
  reject_old_samples_max_age: 168h
  ingestion_rate_mb: 15

chunk_store_config:
  max_look_back_period: 0s

table_manager:
  retention_deletes_enabled: false
  retention_period: 0s
安装promtail
promtail我就直接使用二进制安装在宿主机上了,首先下载
wget https://github.com/grafana/loki/releases/download/v1.5.0/promtail-linux-amd64.zip
解压
unzip promtail-linux-amd64.zip
之后解压出来的就是一个二进制文件,需要自己配置一个配置文件
我的配置如下
server:
  http_listen_port: 9080
  grpc_listen_port: 0

positions:
  filename: ./positions.yaml

clients:
  - url: http://192.179.11.1:3100/loki/api/v1/push

scrape_configs:
 - job_name: zzz
   static_configs:
   - labels:
      app: zzz
      host: 192.168.1.1
      env: prod
      __path__: /zzz/jar/logs/log_error.log
我给每个日志打了三个标签
- app名字
- 主机
- 环境类型
一般这样就够用了
配置grafana
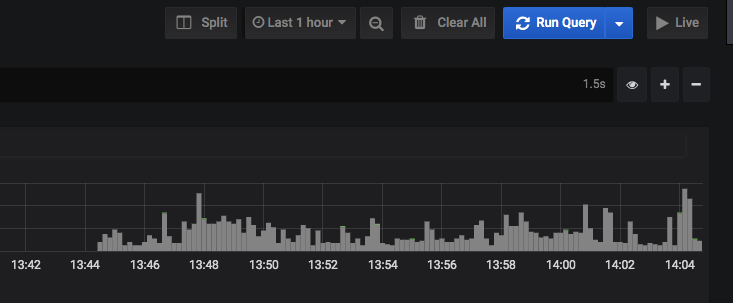
之后就是配置grafana添加loki数据源,这个就不多说了,接着在grafana的explore页面搜索日志就好了
欢迎关注我的博客www.bboy.app
Have Fun
