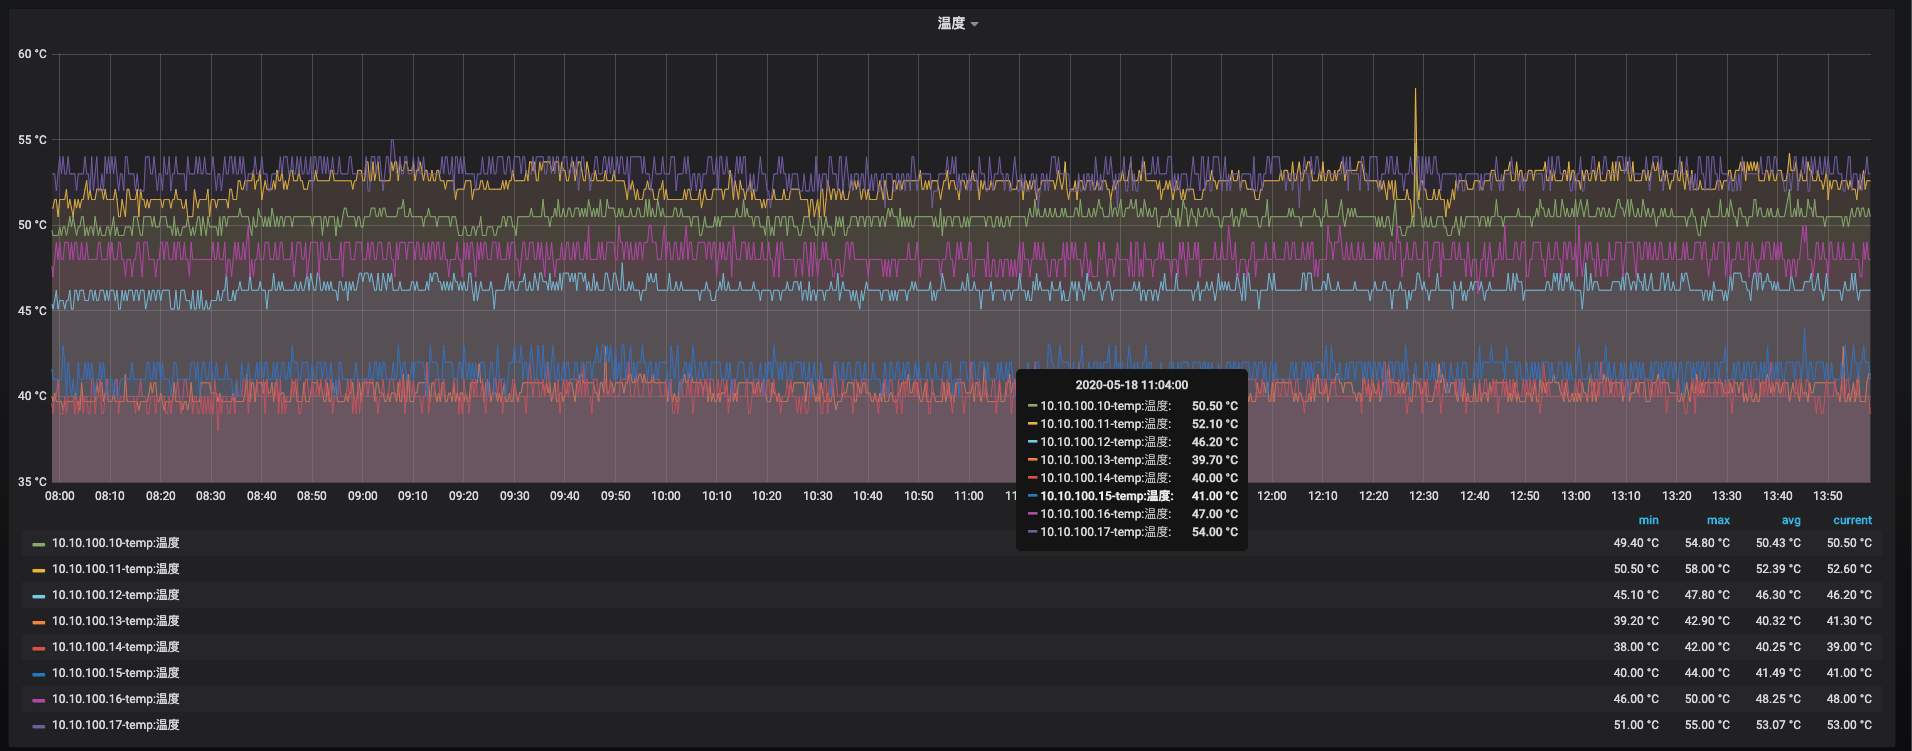
简介
这个事情做了很久了,但是一直没有时间总结,今天总结一下
概述
这里一切操作都在你已经搭建了prometheus和grafana的状态下
编写exporter
首先我们要知道的是怎么获取树莓派的温度,使用下面的命令获取温度
vcgencmd measure_temp
之后我们只要使用os.popen模块去执行这个命令即可
os.popen('vcgencmd measure_temp')
获取命令的输出后进项格式化
temputrue=os.popen('vcgencmd measure_temp').read().split("=")[1].split("'")[0]
之后生成exporter,下面是完整的脚本
import os
import prometheus_client
import time
from prometheus_client import CollectorRegistry,Gauge,generate_latest

# temputrue=os.popen('vcgencmd measure_temp').read().split("=")[1].split("'")[0]
prometheus_client.start_http_server(int(8210))
temputrue_prom = Gauge("Temputrue", "rpi-temp", ["temputrue"])

while True:
    temputrue=os.popen('vcgencmd measure_temp').read().split("=")[1].split("'")[0]
    temputrue_prom.labels("temputrue").set(temputrue)
    time.sleep(int(5))
之后运行脚本
python temp.py
端口这里我定义的是8210
接着访问exporter
curl localhost:8210
如果没有问题会出现下面的数据
# TYPE Temputrue gauge
Temputrue{temputrue="temputrue"} 50.5
使用prometheus抓取
之后编译prometheus的配置文件,添加一个job
  - job_name: 'rpi_temp'
    file_sd_configs:
      - files: ['./hosts/temp.yaml']
        refresh_interval: 5s
在./hosts/temp.yaml下定义
- targets: ['10.10.100.10:8210']
  labels:
    instance: 10.10.100.10-temp
这样就添加了一个节点的数据
grafana仪表盘
这里就是查询mertics的语句而已
Temputrue{job="rpi_temp",temputrue="temputrue"}
欢迎关注我的博客www.bboy.app
Have Fun
