

概述
gitlab是一个代码托管平台,因为我的树莓派系统是安装在128G的u盘上的,用来放电影太小,但是空着就是空着了,所以还不如再搭建一个gitlab服务来存放自己的代码,并且用ngrok反向代理出去还可以实现在公网上访问。很方便,废话不多说,我使用的是gitlab官方的在线安装方式,所以网络不好,尤其是电信网络的同学需要注意一下网络问题。
安装gitlab
- 安装一些必要的软件
sudo apt-get install curl openssh-server ca-certificates apt-transport-https
- 导入秘钥
curl https://packages.gitlab.com/gpg.key | sudo apt-key add -
- 安装postfix
sudo apt-get install -y postfix
gitlab是使用postfix作为邮件服务的
Package configuration


            ┌───────────────────────────┤ Postfix Configuration ├───────────────────────────┐
            │ Please select the mail server configuration type that best meets your needs.  │
            │                                                                               │
            │  No configuration:                                                            │
            │   Should be chosen to leave the current configuration unchanged.              │
            │  Internet site:                                                               │
            │   Mail is sent and received directly using SMTP.                              │
            │  Internet with smarthost:                                                     │
            │   Mail is received directly using SMTP or by running a utility such           │
            │   as fetchmail. Outgoing mail is sent using a smarthost.                      │
            │  Satellite system:                                                            │
            │   All mail is sent to another machine, called a 'smarthost', for delivery.    │
            │  Local only:                                                                  │
            │   The only delivered mail is the mail for local users. There is no network.   │
            │                                                                               │
            │ General type of mail configuration:                                           │
            │                                                                               │
            │                            No configuration                                   │
            │                            Internet Site                                      │
            │                            Internet with smarthost                            │
            │                            Satellite system                                   │
            │                            Local only                                         │
            │                                                                               │
            │                                                                               │
            │                     <Ok>                         <Cancel>                     │
            │                                                                               │
            └───────────────────────────────────────────────────────────────────────────────┘
安装的时候会跳出配置的对话框,我是选择第二项internet site
 ┌─────────────────────────────────────┤ Postfix Configuration ├──────────────────────────────────────┐
 │ The "mail name" is the domain name used to "qualify" _ALL_ mail addresses without a domain name.   │
 │ This includes mail to and from <root>: please do not make your machine send out mail from          │
 │ [email protected] unless [email protected] has told you to.                                          │
 │                                                                                                    │
 │ This name will also be used by other programs. It should be the single, fully qualified domain     │
 │ name (FQDN).                                                                                       │
 │                                                                                                    │
 │ Thus, if a mail address on the local host is [email protected], the correct value for this option    │
 │ would be example.org.                                                                              │
 │                                                                                                    │
 │ System mail name:                                                                                  │
 │                                                                                                    │
 │ bboysoul__________________________________________________________________________________________ │
 │                                                                                                    │
 │                            <Ok>                                <Cancel>                            │
 │                                                                                                    │
 └────────────────────────────────────────────────────────────────────────────────────────────────────┘
设置mail name
当然如果你不需要邮件服务,不设置也可以
因为我的树莓派上配置了很多服务,所以最好查看一下postfix服务状态是不是正常
➜  conf sudo service postfix status
● postfix.service - LSB: Postfix Mail Transport Agent
   Loaded: loaded (/etc/init.d/postfix)
  Drop-In: /run/systemd/generator/postfix.service.d
           └─50-postfix-$mail-transport-agent.conf
   Active: active (running) since Thu 2017-10-26 15:16:47 CST; 42s ago
   CGroup: /system.slice/postfix.service
           ├─24871 /usr/lib/postfix/master
           ├─24872 pickup -l -t unix -u -c
           └─24873 qmgr -l -t unix -u

Oct 26 15:16:47 raspberrypi postfix[24753]: Starting Postfix Mail Transport Agent: postfix.
Oct 26 15:16:47 raspberrypi systemd[1]: Started LSB: Postfix Mail Transport Agent.
Oct 26 15:16:47 raspberrypi postfix/master[24871]: daemon started -- version 2.11.3, configuration ...fix
Hint: Some lines were ellipsized, use -l to show in full.
- 添加gitlab软件源
sudo curl -sS https://packages.gitlab.com/install/repositories/gitlab/raspberry-pi2/script.deb.sh | sudo bash
- 之后安装gitlab
sudo apt-get install gitlab-ce
这里网络不好的同学可能要等待一段时间了,如果下载不了可以在下面这个网址下载好安装包安装
https://packages.gitlab.com/gitlab/raspberry-pi2
因为树莓派的io问题,所以可能会卡在这个地方挺久的
➜  ~ sudo dpkg -i gitlab-ce_10.1.0-rc3.ce.0_armhf.deb
Selecting previously unselected package gitlab-ce.
(Reading database ... 41767 files and directories currently installed.)
Preparing to unpack gitlab-ce_10.1.0-rc3.ce.0_armhf.deb ...
Unpacking gitlab-ce (10.1.0-rc3.ce.0) ...
显示下面这样表示安装完成
It looks like GitLab has not been configured yet; skipping the upgrade script.

       *.                  *.
      ***                 ***
     *****               *****
    .******             *******
    ********            ********
   ,,,,,,,,,***********,,,,,,,,,
  ,,,,,,,,,,,*********,,,,,,,,,,,
  .,,,,,,,,,,,*******,,,,,,,,,,,,
      ,,,,,,,,,*****,,,,,,,,,.
         ,,,,,,,****,,,,,,
            .,,,***,,,,
                ,*,.


     _______ __  __          __
    / ____(_) /_/ /   ____ _/ /_
   / / __/ / __/ /   / __ \`/ __ \
  / /_/ / / /_/ /___/ /_/ / /_/ /
  \____/_/\__/_____/\__,_/_.___/


Thank you for installing GitLab!
GitLab was unable to detect a valid hostname for your instance.
Please configure a URL for your GitLab instance by setting `external_url`
configuration in /etc/gitlab/gitlab.rb file.
Then, you can start your GitLab instance by running the following command:
  sudo gitlab-ctl reconfigure

For a comprehensive list of configuration options please see the Omnibus GitLab readme
https://gitlab.com/gitlab-org/omnibus-gitlab/blob/master/README.md
之后运行 sudo gitlab-ctl reconfigure配置gitlab
configure的时间可能也会比较久,因为网络问题嘛,哈哈
出现下面这几句话就表示配置成功
Running handlers:
Running handlers complete
Chef Client finished, 219/509 resources updated in 07 minutes 50 seconds
gitlab Reconfigured!
我觉得吧配置完成好什么之后,最好重启一下树莓派,还有configure的时候最好关闭nginx,不然如果有软件和gitlab使用一个端口,那么可能会配置不成功
一些问题的解决
其实安装的过程不是一帆风顺的,我在安装完成之后第一次访问界面是下面这样的
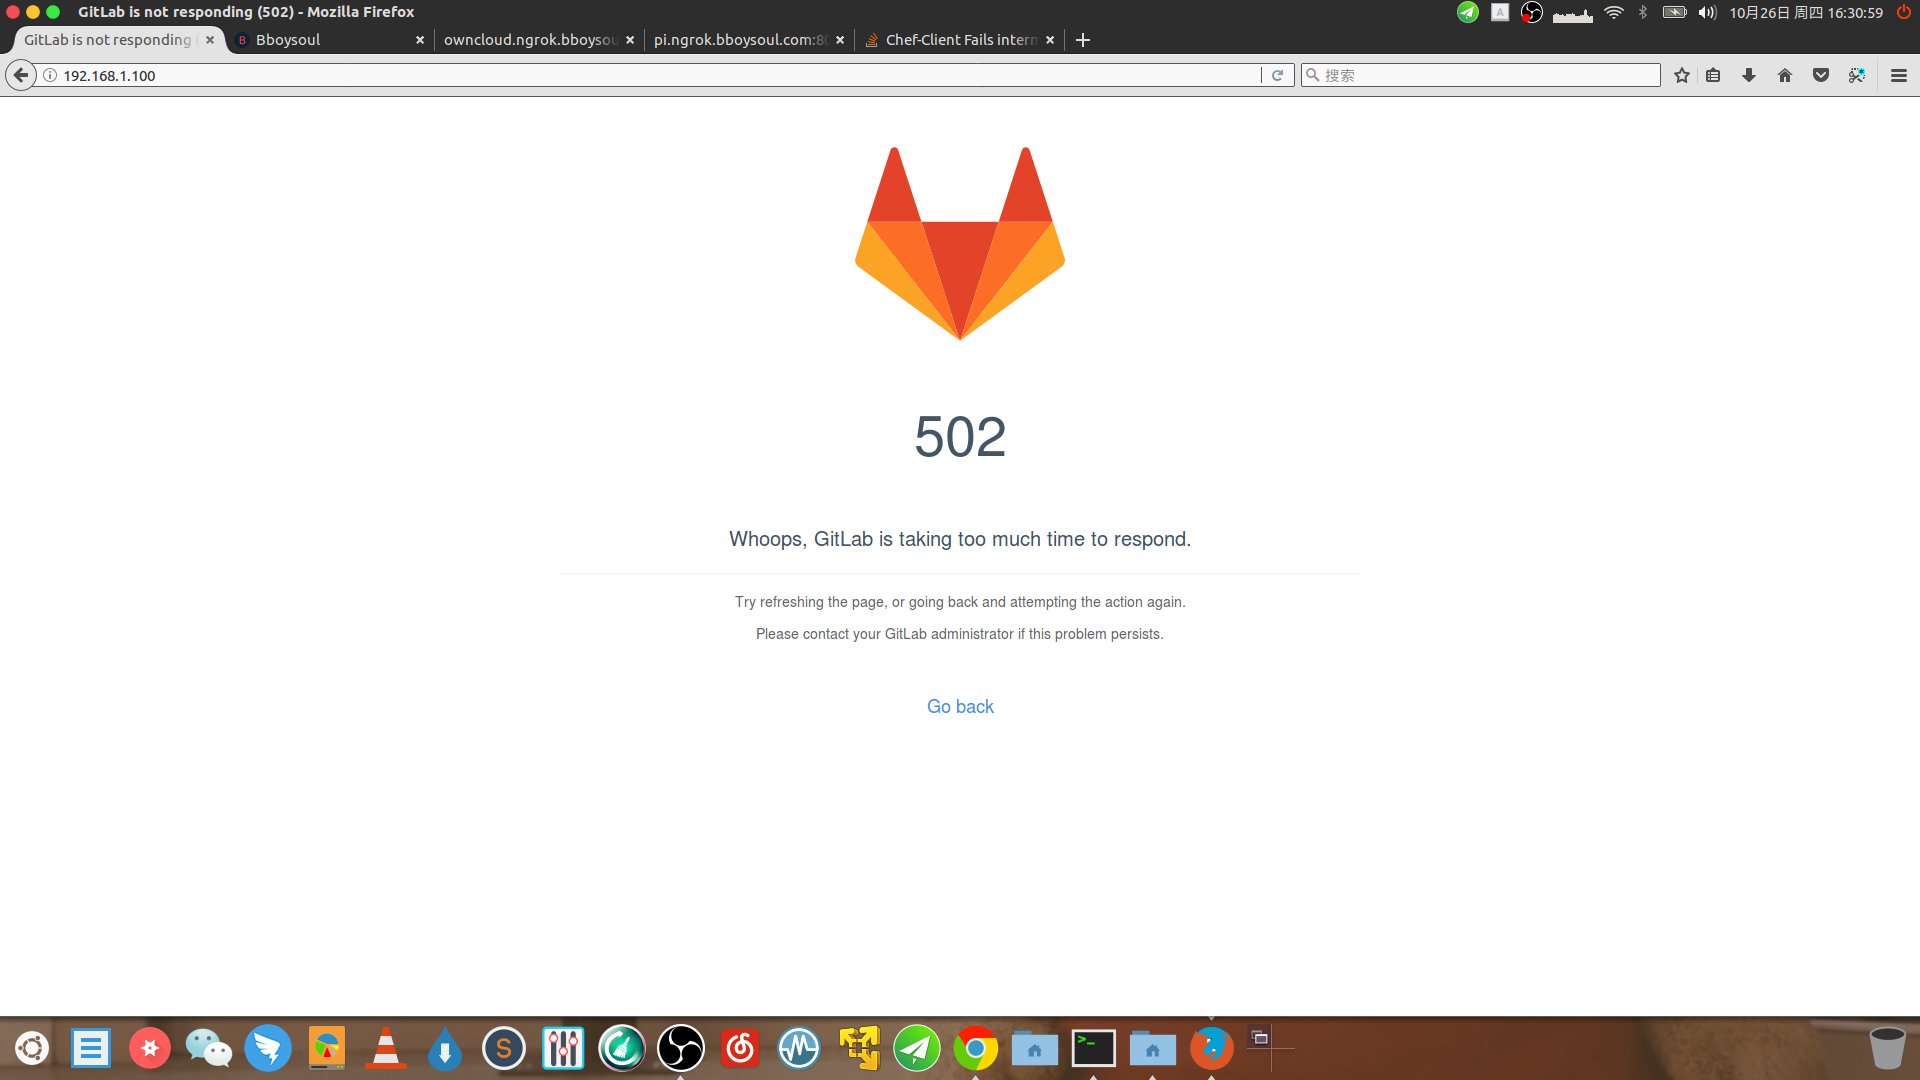
因为gitlab有使用nginx 8080端口,而我有应用也安装运行在8080端口,所以会这样,既然这样,那么就要修改运行的端口,首先停止gitlab
➜  vhost gitlab-ctl stop
ok: down: gitaly: 0s, normally up
ok: down: gitlab-monitor: 0s, normally up
ok: down: gitlab-workhorse: 0s, normally up
ok: down: logrotate: 1s, normally up
ok: down: nginx: 0s, normally up
ok: down: node-exporter: 1s, normally up
ok: down: postgres-exporter: 0s, normally up
ok: down: postgresql: 0s, normally up
ok: down: prometheus: 0s, normally up
ok: down: redis: 0s, normally up
ok: down: redis-exporter: 1s, normally up
ok: down: sidekiq: 0s, normally up
ok: down: unicorn: 1s, normally up
之后查看一下nginx的状态,正常是关闭的,如果你的gitlab在运行的时候你要停止nginx,这是做不到的,gitlab会不断重启你的nginx就算killnginx的pid也没有用,所以先stop gitlab才可以停止nginx,之后你可以修改gitlab的运行端口,首先我修改了gitlab web端的端口,编辑下面这个文件
vim /etc/gitlab/gitlab.rb
修改这行
external_url 'http://localhost:8083'
我把端口改为8083了
接着修改unicorn端口
修改
unicorn['port'] = 8082
和
gitlab_workhorse['auth_backend'] = "http://localhost:8082"
这句话,我把8080改为8082了
之后重新配置gitlab
sudo gitlab-ctl reconfigure
接着启动gitlab
gitlab-ctl start
如果还是出现上述图片中的错误,不要紧张,那只不过是gitlab还没有启动完成罢了,你要做的就是等待10分钟,然后坚信它可以启动成功这样子,毕竟是树莓派嘛,如果10分钟之后还没有启动成功,那么在检查一下其他原因吧。
还有长时间没有启动起来还可能是swap空间不够大的缘故,你可以这样做去增加swap空间,首先查看一下当前的swap文件
➜  ~ swapon -s
Filename				Type		Size	Used	Priority
/var/swap                              	file    	102396	102396	-1
查看一下内存
➜  ~ free -m
             total       used       free     shared    buffers     cached
Mem:           925        819        106         24         20        232
-/+ buffers/cache:        565        359
Swap:           99         99          0
卸载
swapoff /var/swap
查看一下现在的内存
➜  ~ free -m
             total       used       free     shared    buffers     cached
Mem:           925        898         27         29         11         89
-/+ buffers/cache:        797        127
Swap:            0          0          0
添加swap文件
sudo dd if=/dev/zero of=/swapfile bs=1024 count=2048k
格式化文件
sudo mkswap /swapfile
启用swap文件
swapon /swapfile
看一下现在的内存
➜  ~ free -m
             total       used       free     shared    buffers     cached
Mem:           925        894         30         29         18        122
-/+ buffers/cache:        753        172
Swap:         2047          0       2047
把swap空间配置加入配置文件
vim /etc/fstab
添加下面这句话
/swapfile none swap defaults 0 0
重启gitlab
gitlab-ctl restart
之后继续等待启动完成
使用
因为树莓派下使用这东西就是在找死,没事找事,所以我就在我的服务器上搭建了gitlab来演示使用
初始的用户是root
第一次登录会跳出一个界面让你修改root密码,就像下面这样
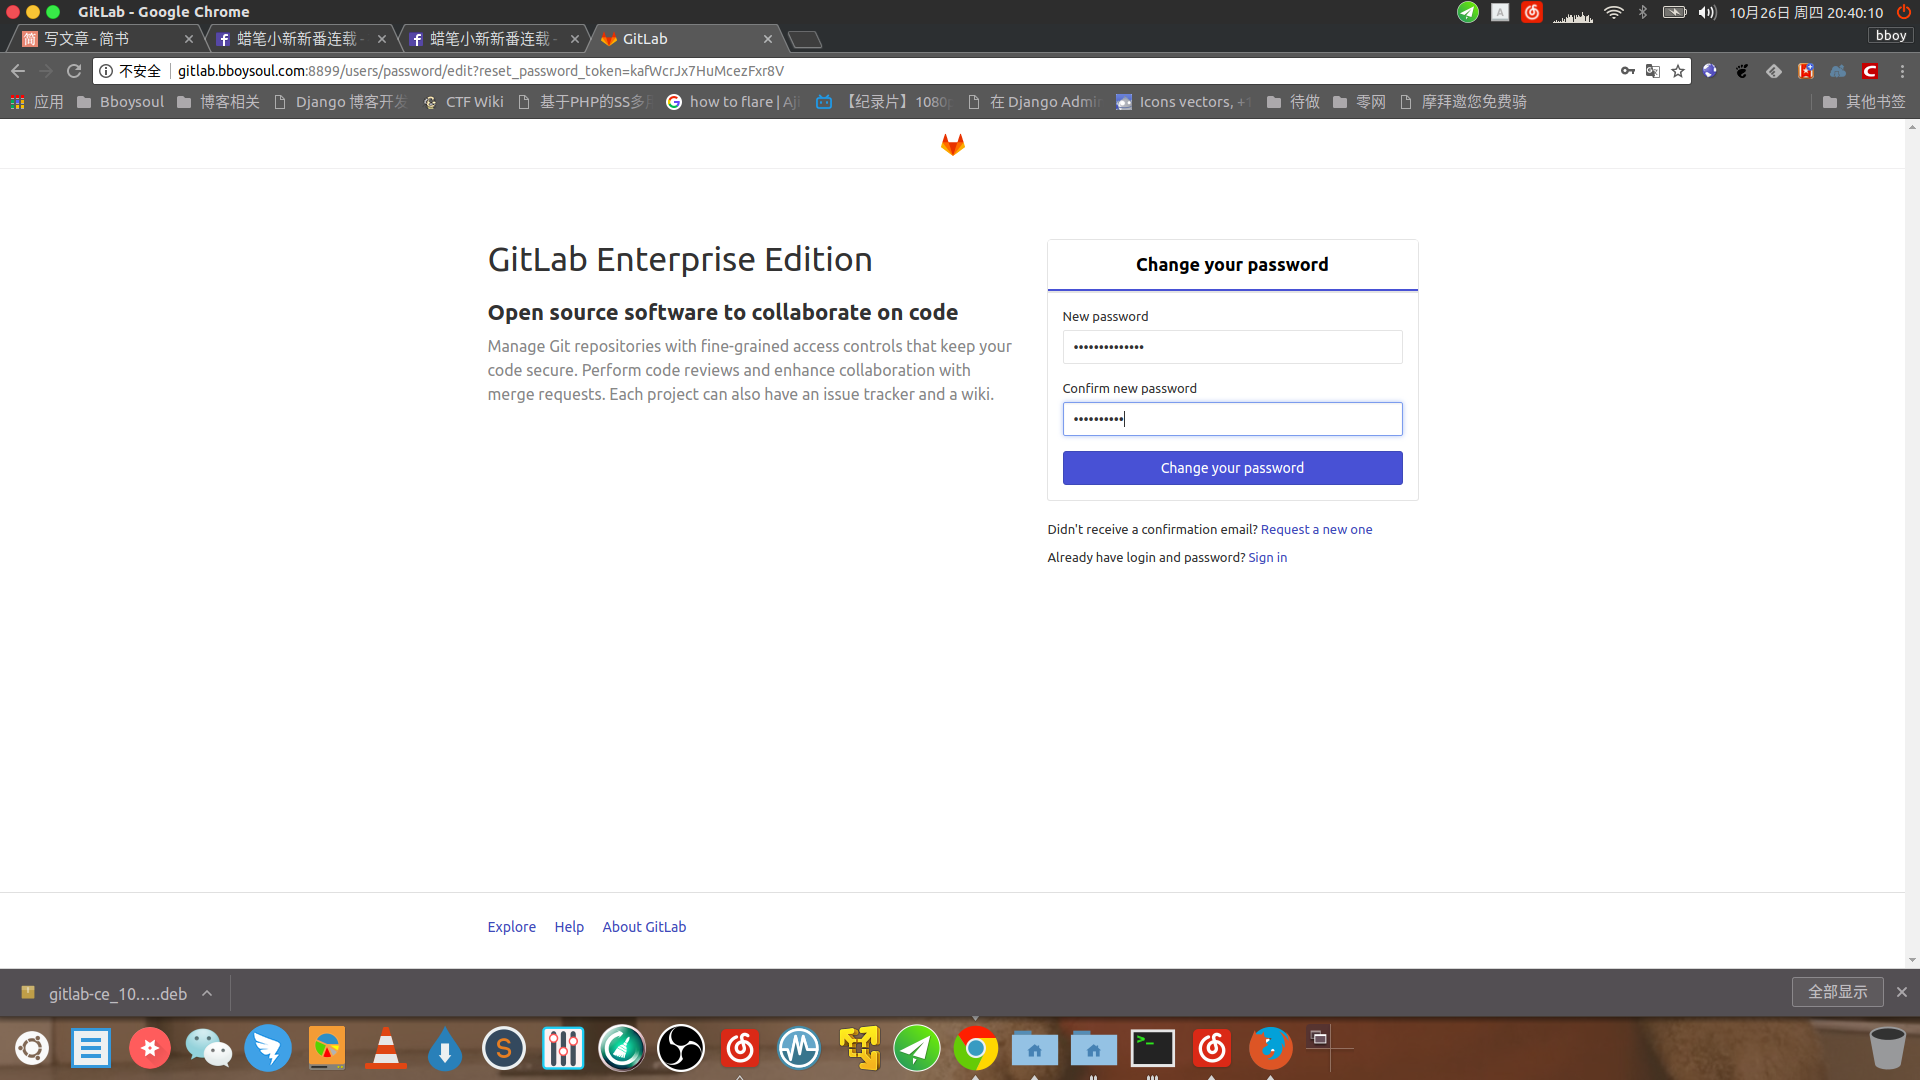
重置完成之后使用root用户去登录
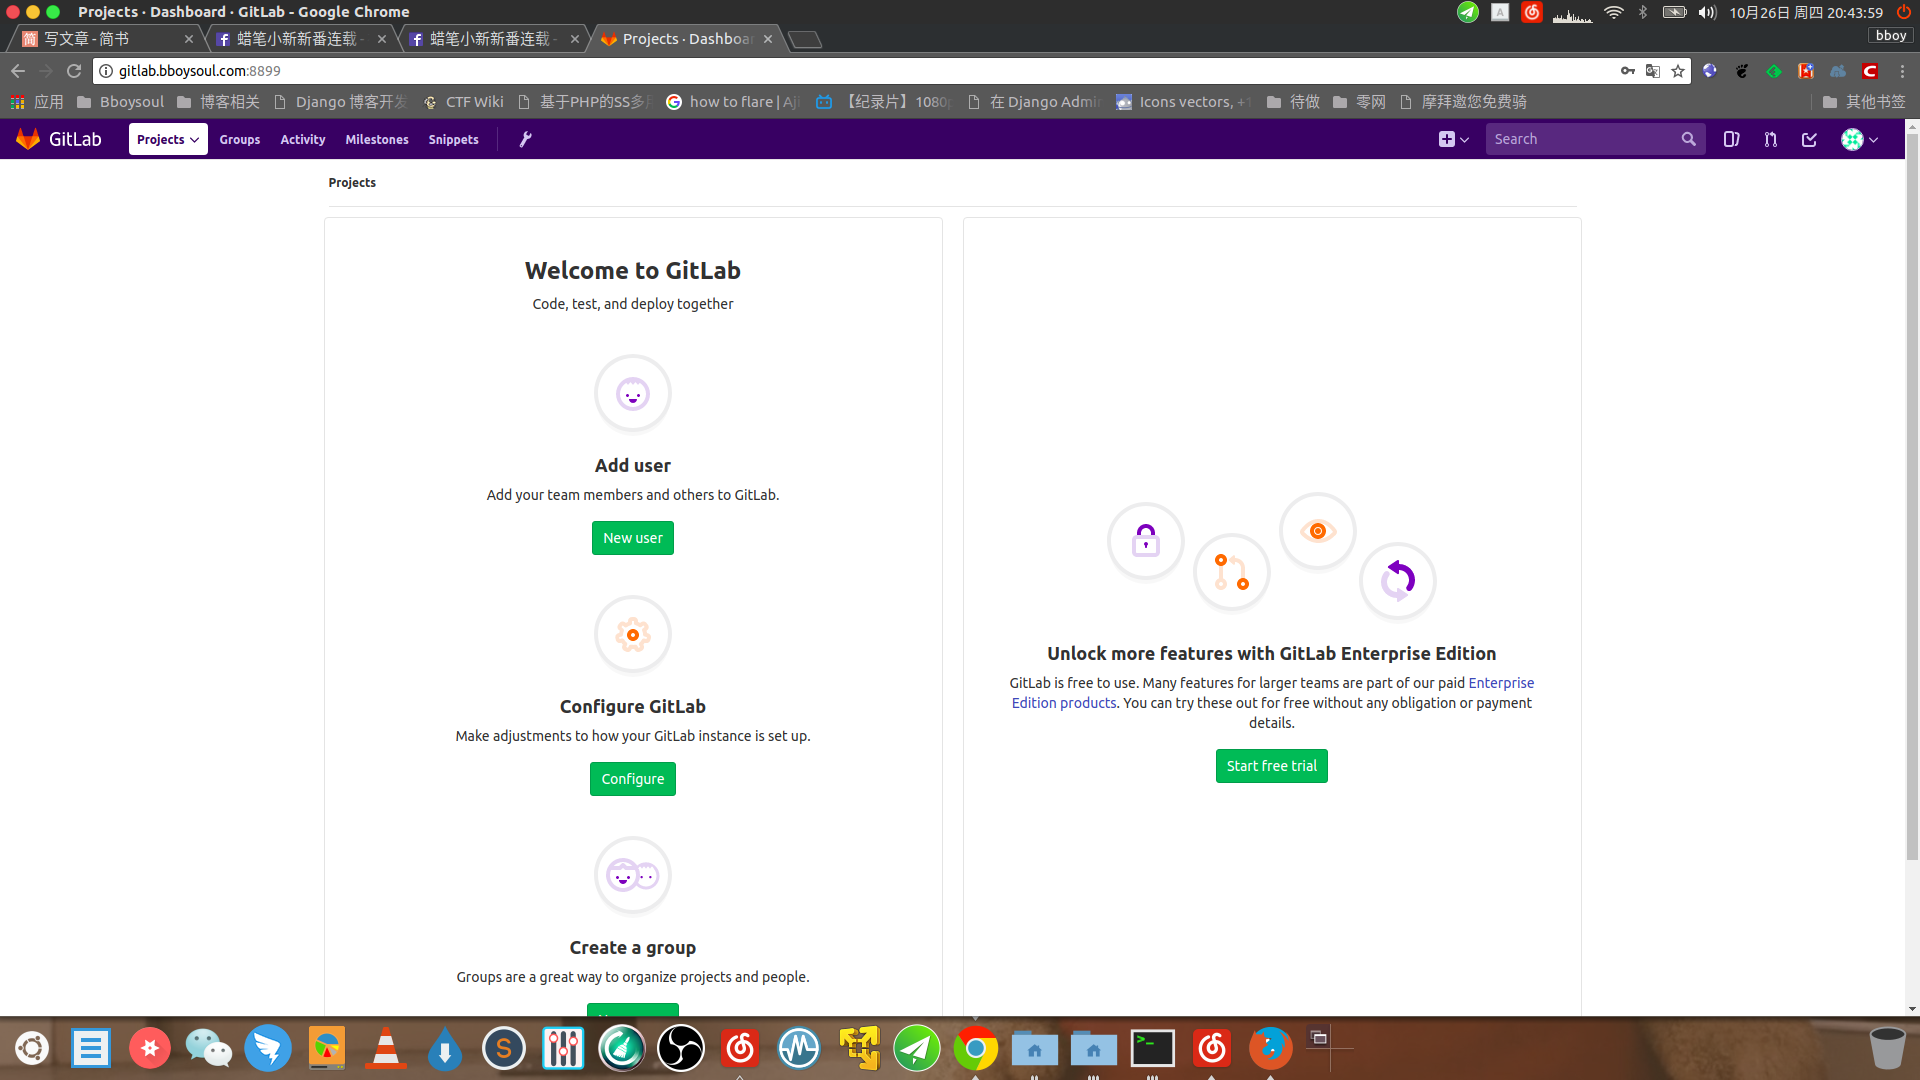
之后可以新增加一些用户,也可以配置一下gitlab
我新建了一个bboysoul的用户
之后我登录这个用户去做一些测试
首先是重置密码,因为我没有配置邮件服务器,所以测试是失败的
配置邮箱
编辑下面这个文件
vim /etc/gitlab/gitlab.rb
添加
gitlab_rails['smtp_enable'] = true
gitlab_rails['smtp_address'] = "smtp.gmail.com"
gitlab_rails['smtp_port'] = 587
gitlab_rails['smtp_user_name'] = "[email protected]"
gitlab_rails['smtp_password'] = "你的密码"
gitlab_rails['smtp_domain'] = "smtp.gmail.com"
gitlab_rails['smtp_authentication'] = "login"
gitlab_rails['smtp_enable_starttls_auto'] = true
gitlab_rails['smtp_tls'] = false
gitlab_rails['smtp_openssl_verify_mode'] = 'peer'
之后重启服务
gitlab-ctl stop
gitlab-ctl reconfigure
gitlab-ctl start
注意我163邮箱真的是配置不了,gmail的话要做两件事,首相要打开imap这个就不用说了,其次要允许不够安全的应用访问
具体的网址在下面
https://myaccount.google.com/lesssecureapps?pli=1
复制进去修改
接着测试一下你的邮箱是不是配置正确
最简单的方法就是使用重置密码功能重置看一下能不能收到邮件
接着新建一个软件仓库并且上传一些代码,点击new project
之后创建一个project,接着clone下来
➜  ~ git clone http://gitlab.bboysoul.com:8899/bboysoul/bboysoul.git
正克隆到 'bboysoul'...
Username for 'http://gitlab.bboysoul.com:8899': bboysoul
Password for 'http://[email protected]:8899':
warning: 您似乎克隆了一个空仓库。
检查连接... 完成。
这个一般没什么问题,之后创建一个文件,看看是不是可以上传
 Bboysoul  ➜  bboysoul git:(master) touch a
 Bboysoul  ➜  bboysoul git:(master) ✗ git add .
 Bboysoul  ➜  bboysoul git:(master) ✗ git commit -m "a"
[master (根提交) 6207335] a
 1 file changed, 0 insertions(+), 0 deletions(-)
 create mode 100644 a
 Bboysoul  ➜  bboysoul git:(master) git push origin master
Username for 'http://gitlab.bboysoul.com:8899': bboysoul
Password for 'http://[email protected]:8899':
remote: HTTP Basic: Access denied
fatal: Authentication failed for 'http://gitlab.bboysoul.com:8899/bboysoul/bboysoul.git/'
➜  bboysoul git:(master) git push origin master
Username for 'http://gitlab.bboysoul.com:8899': bboysoul
Password for 'http://[email protected]:8899':
对象计数中: 3, 完成.
写入对象中: 100% (3/3), 196 bytes | 0 bytes/s, 完成.
Total 3 (delta 0), reused 0 (delta 0)
To http://gitlab.bboysoul.com:8899/bboysoul/bboysoul.git
 * [new branch]      master -> master
 Bboysoul  ➜  bboysoul git:(master)
第一次我打错密码了,第二次上传成功
卸载
因为我在树莓派上安装了,但是卡得要死,所以我准备把树莓派上的gitlab卸载了
执行
gitlab-ctl uninstall
sudo dpkg -r gitlab-ce
一些其他配置
如果你的gitlab在内网,你可以使用ngrok代理到外网,这样外网就可以访问了
欢迎关注我的博客www.bboy.app
Have Fun